

First attempt in UV Resin
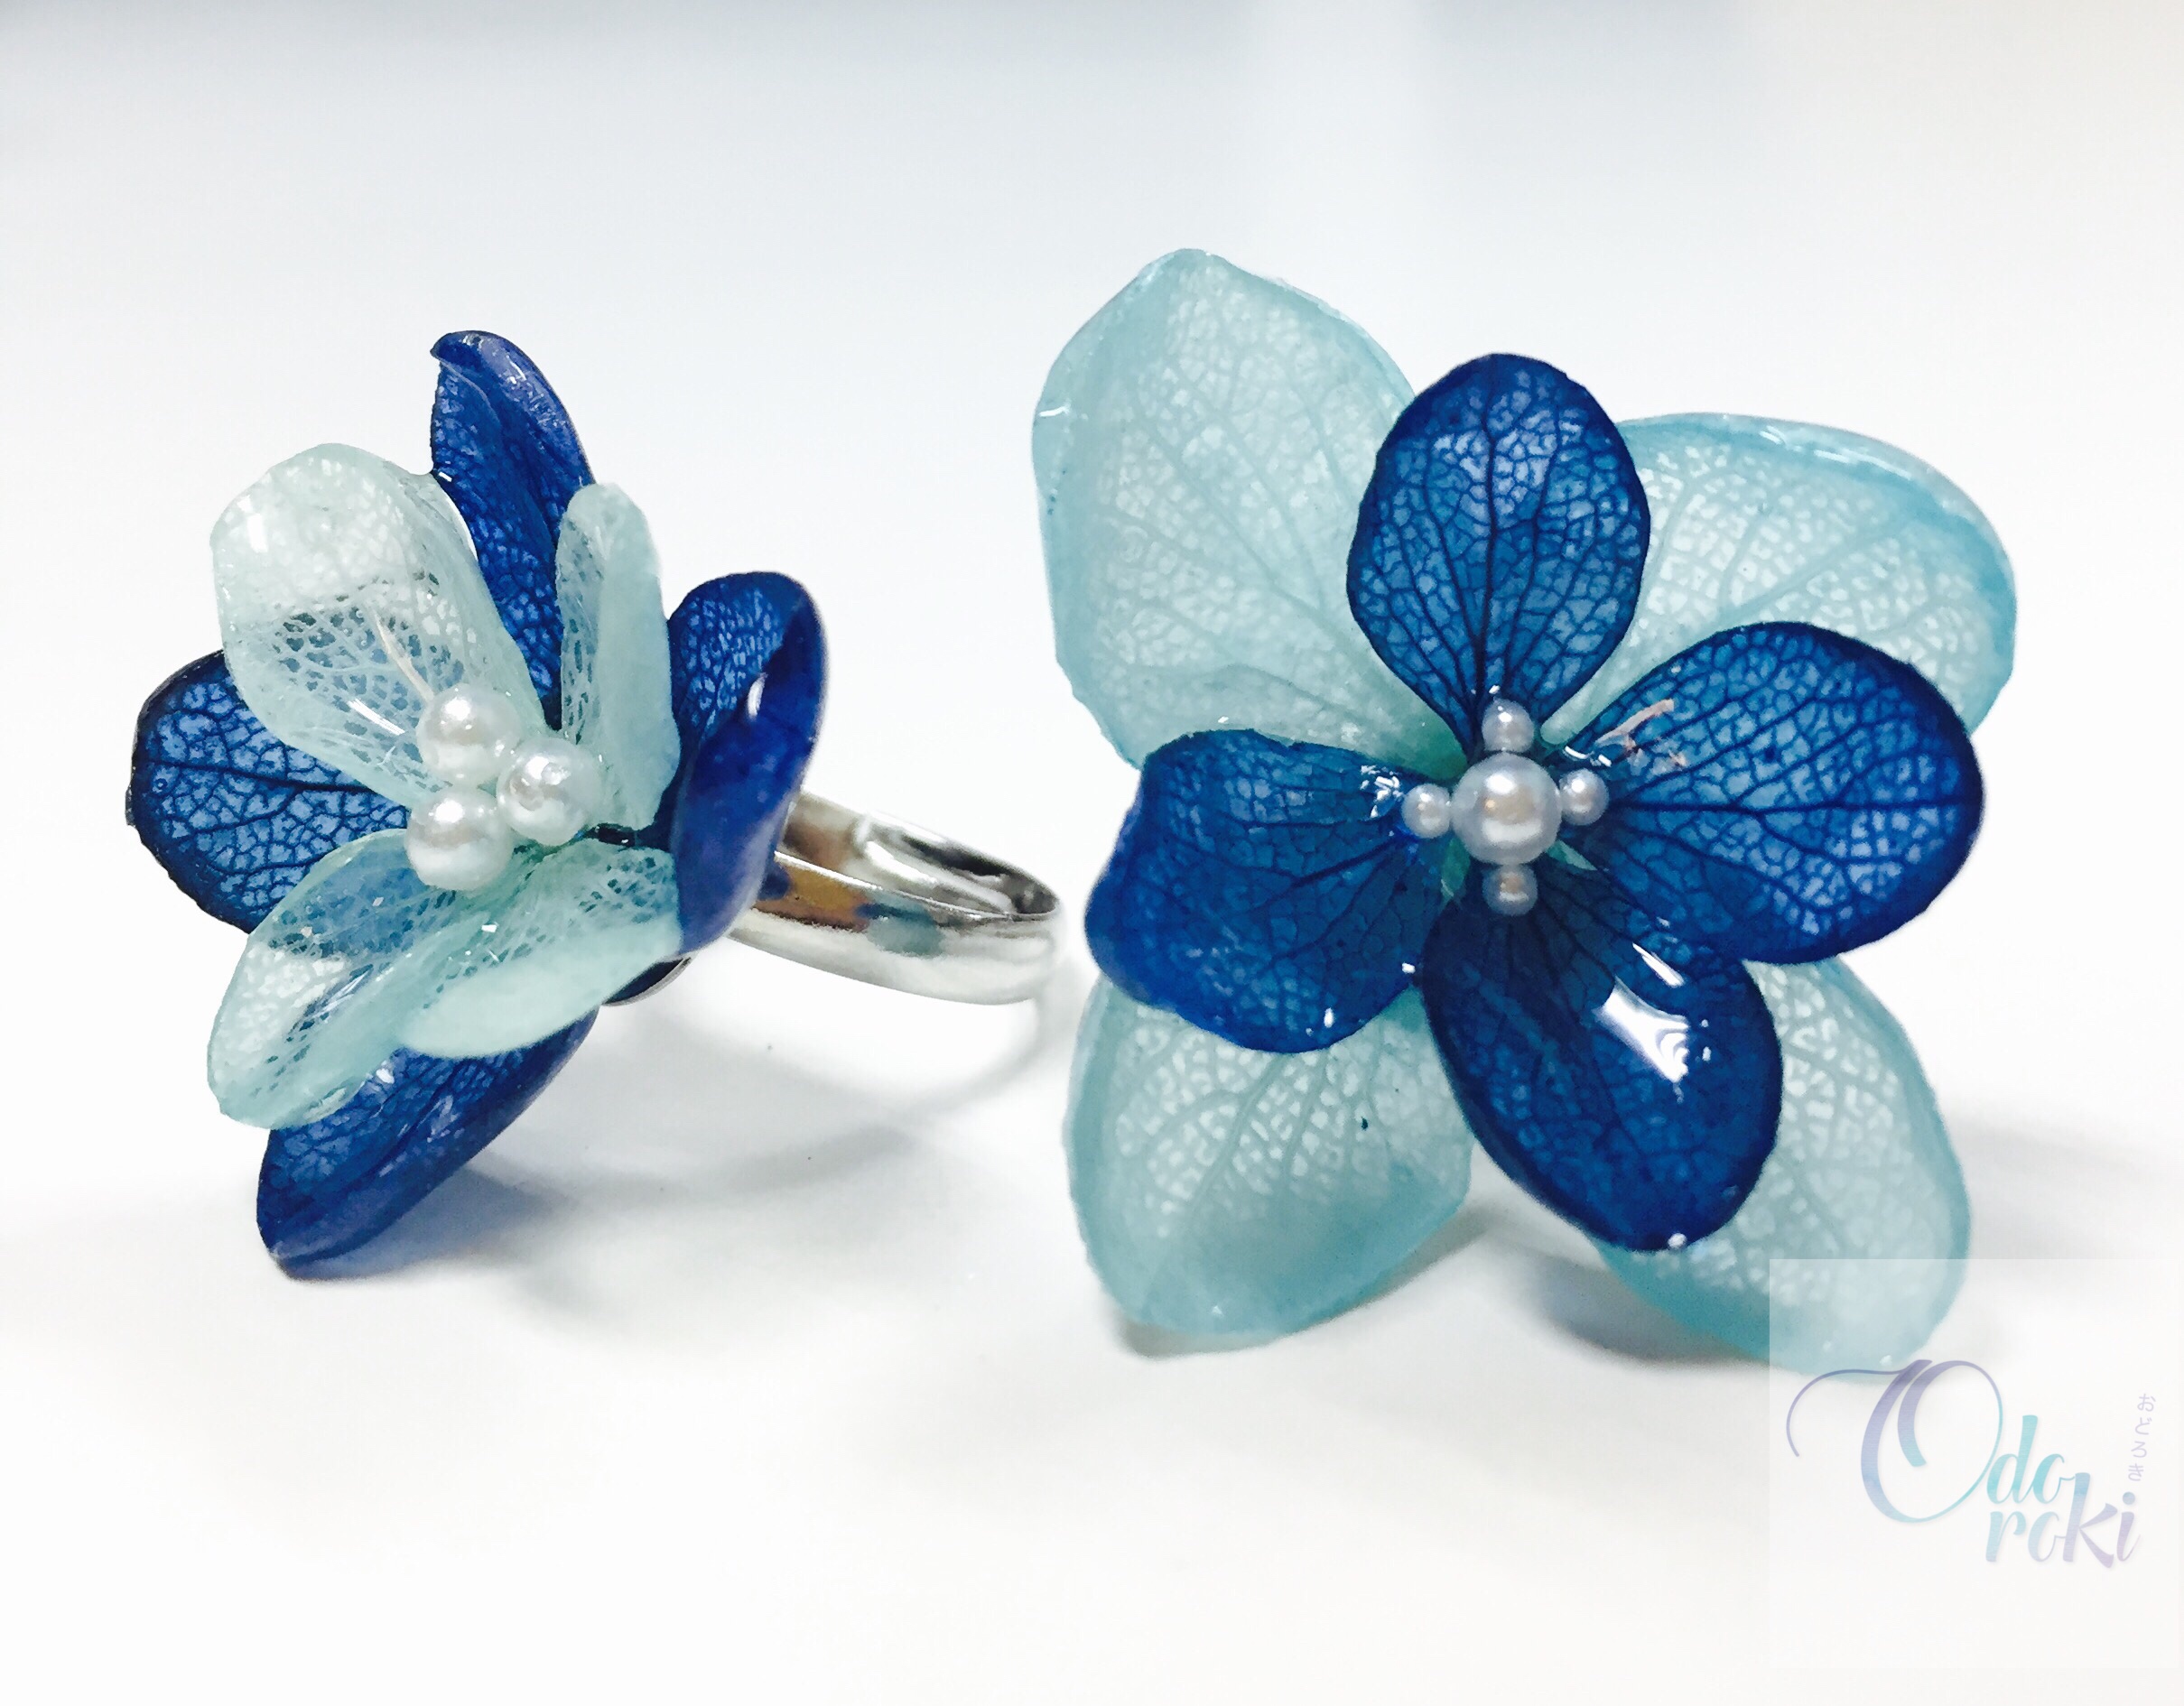
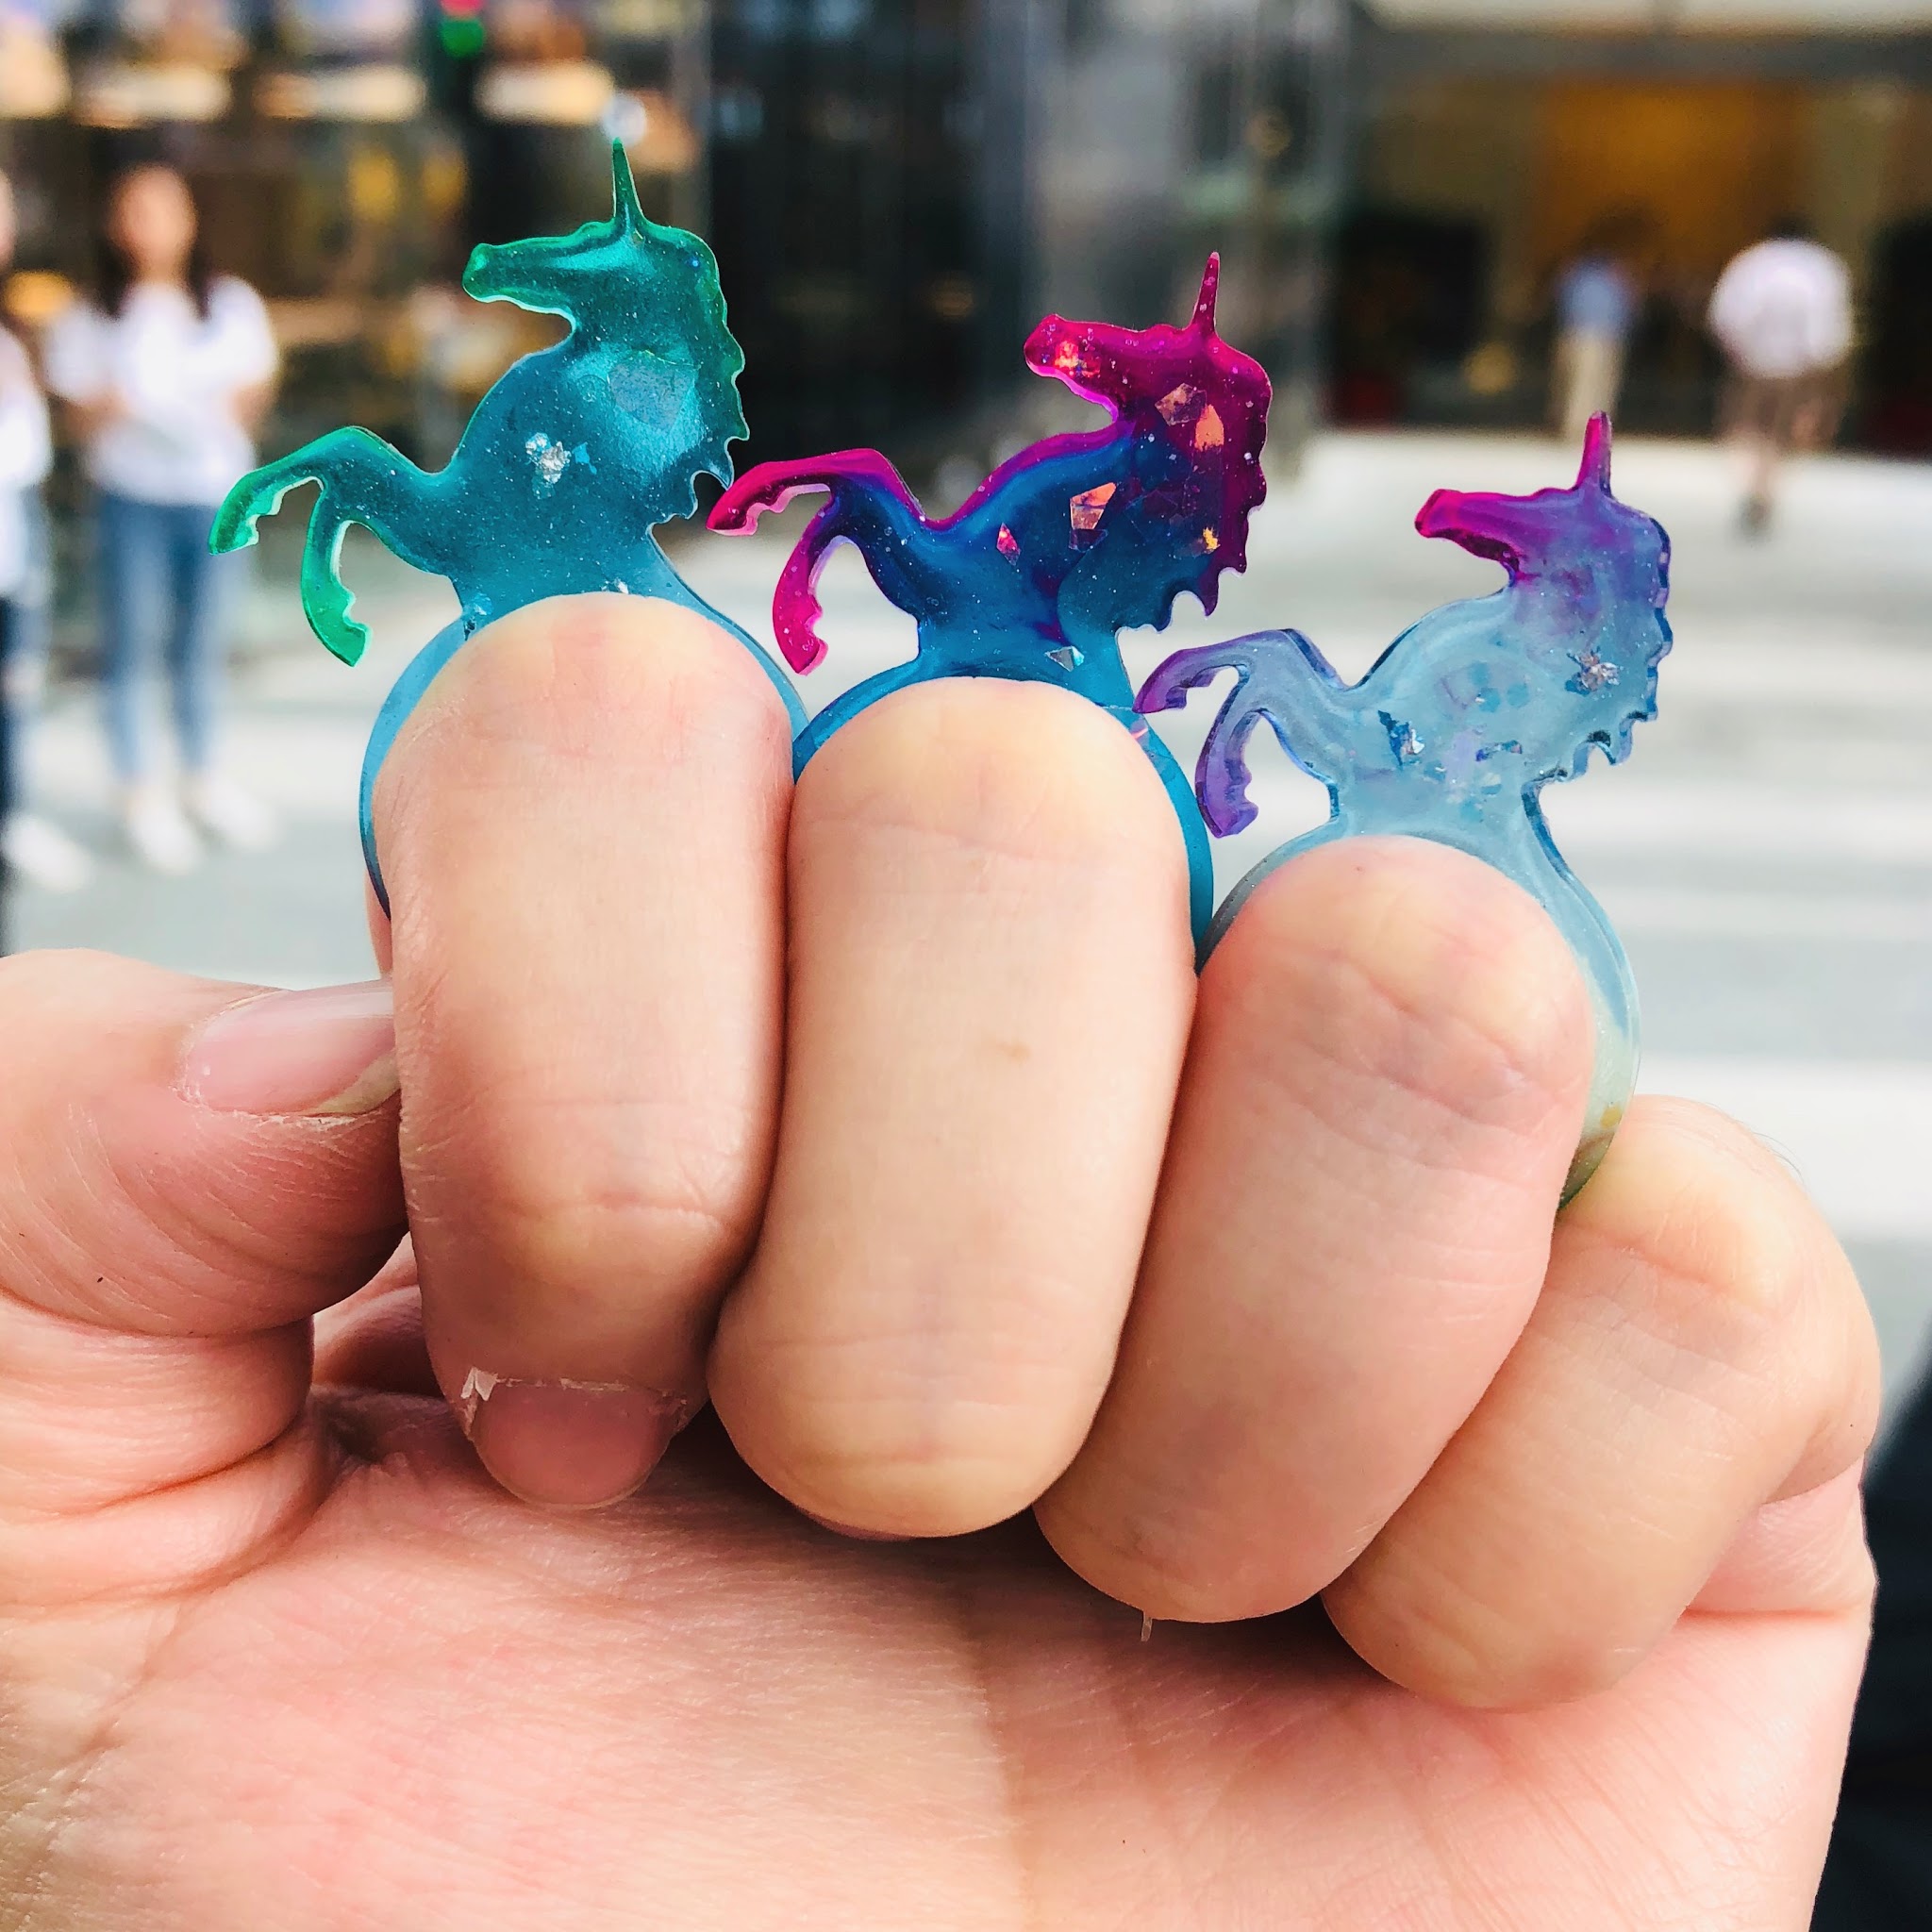
The first time I heard of “resin”, I thought it’s “raisin”. I just couldn’t understand why my friend, Jing Tzy (JZ), told me to learn “raisin” together, so I decided to give it a try. We signed up for Odoroki Studio’s Resin Workshop because she makes very beautiful resin pieces such as the Real Flowers Jewellery and Aurora Unicorn resin! We took up the Introduction to UV Resin Workshop because JZ wanted to learn how to mix colours.


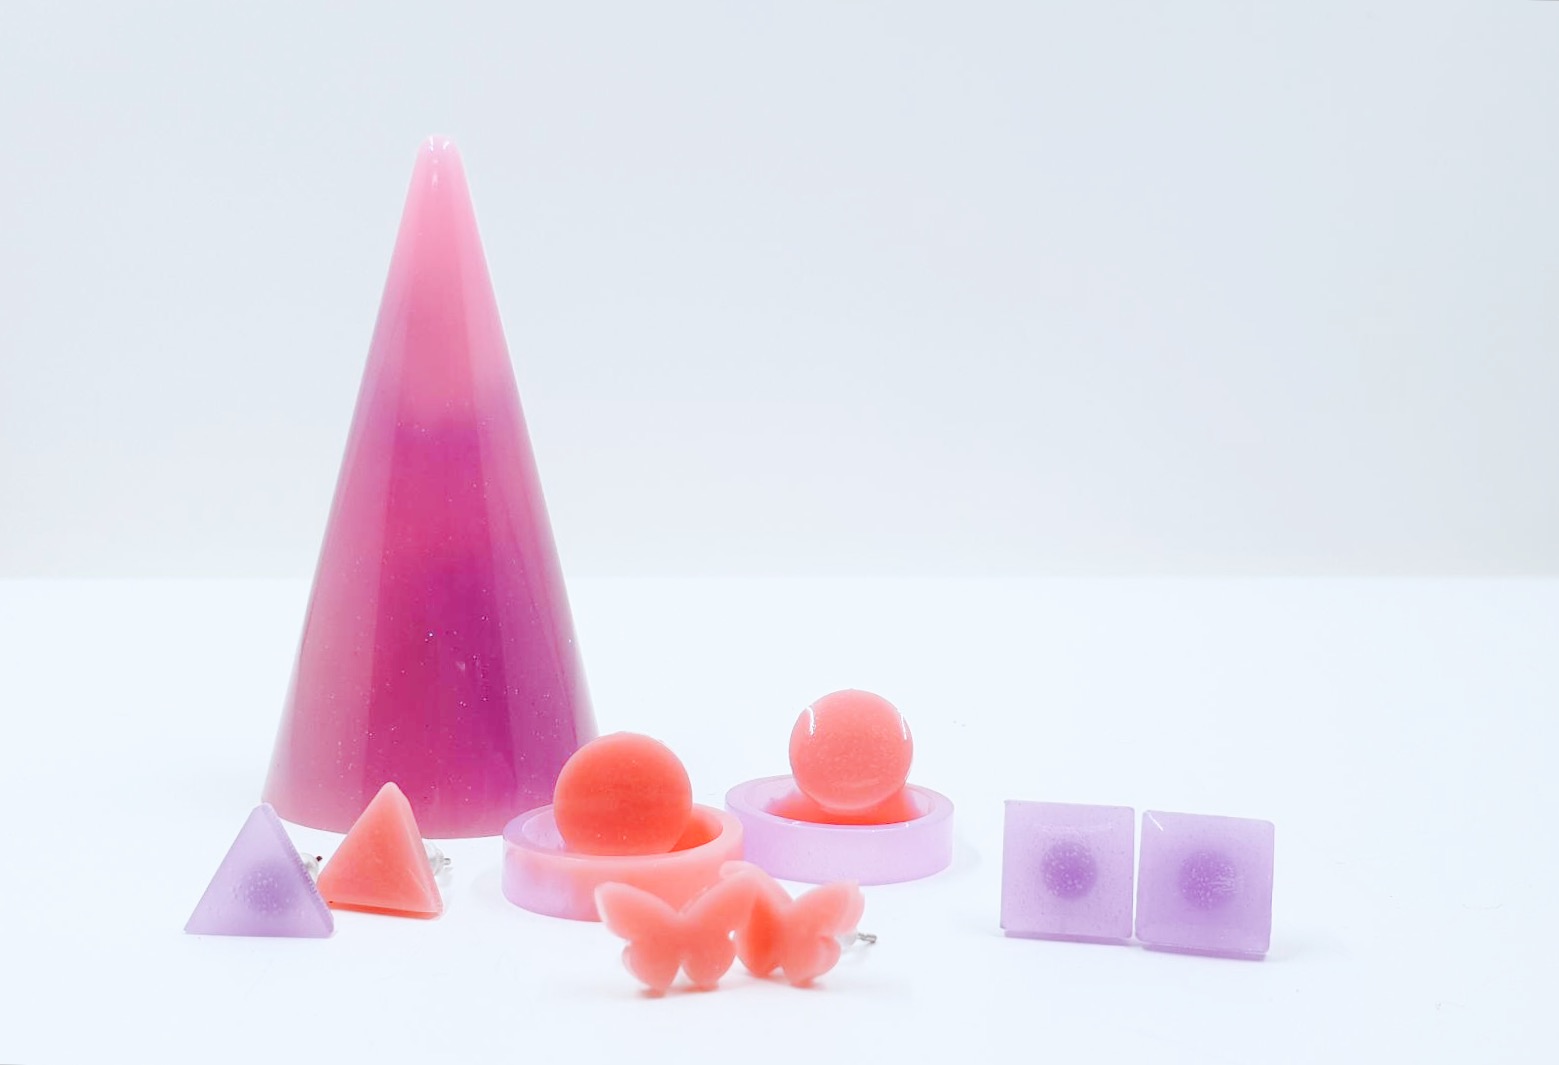
It was only a short wait before all the participants arrived and Samantha, our lovely teacher, started to introduce to us all the things she had laid out on the table. There were many things such as some printed transparency which were already cut out, some pearls and accessories, and the resin materials and moulds, not to forget the UV lamps.


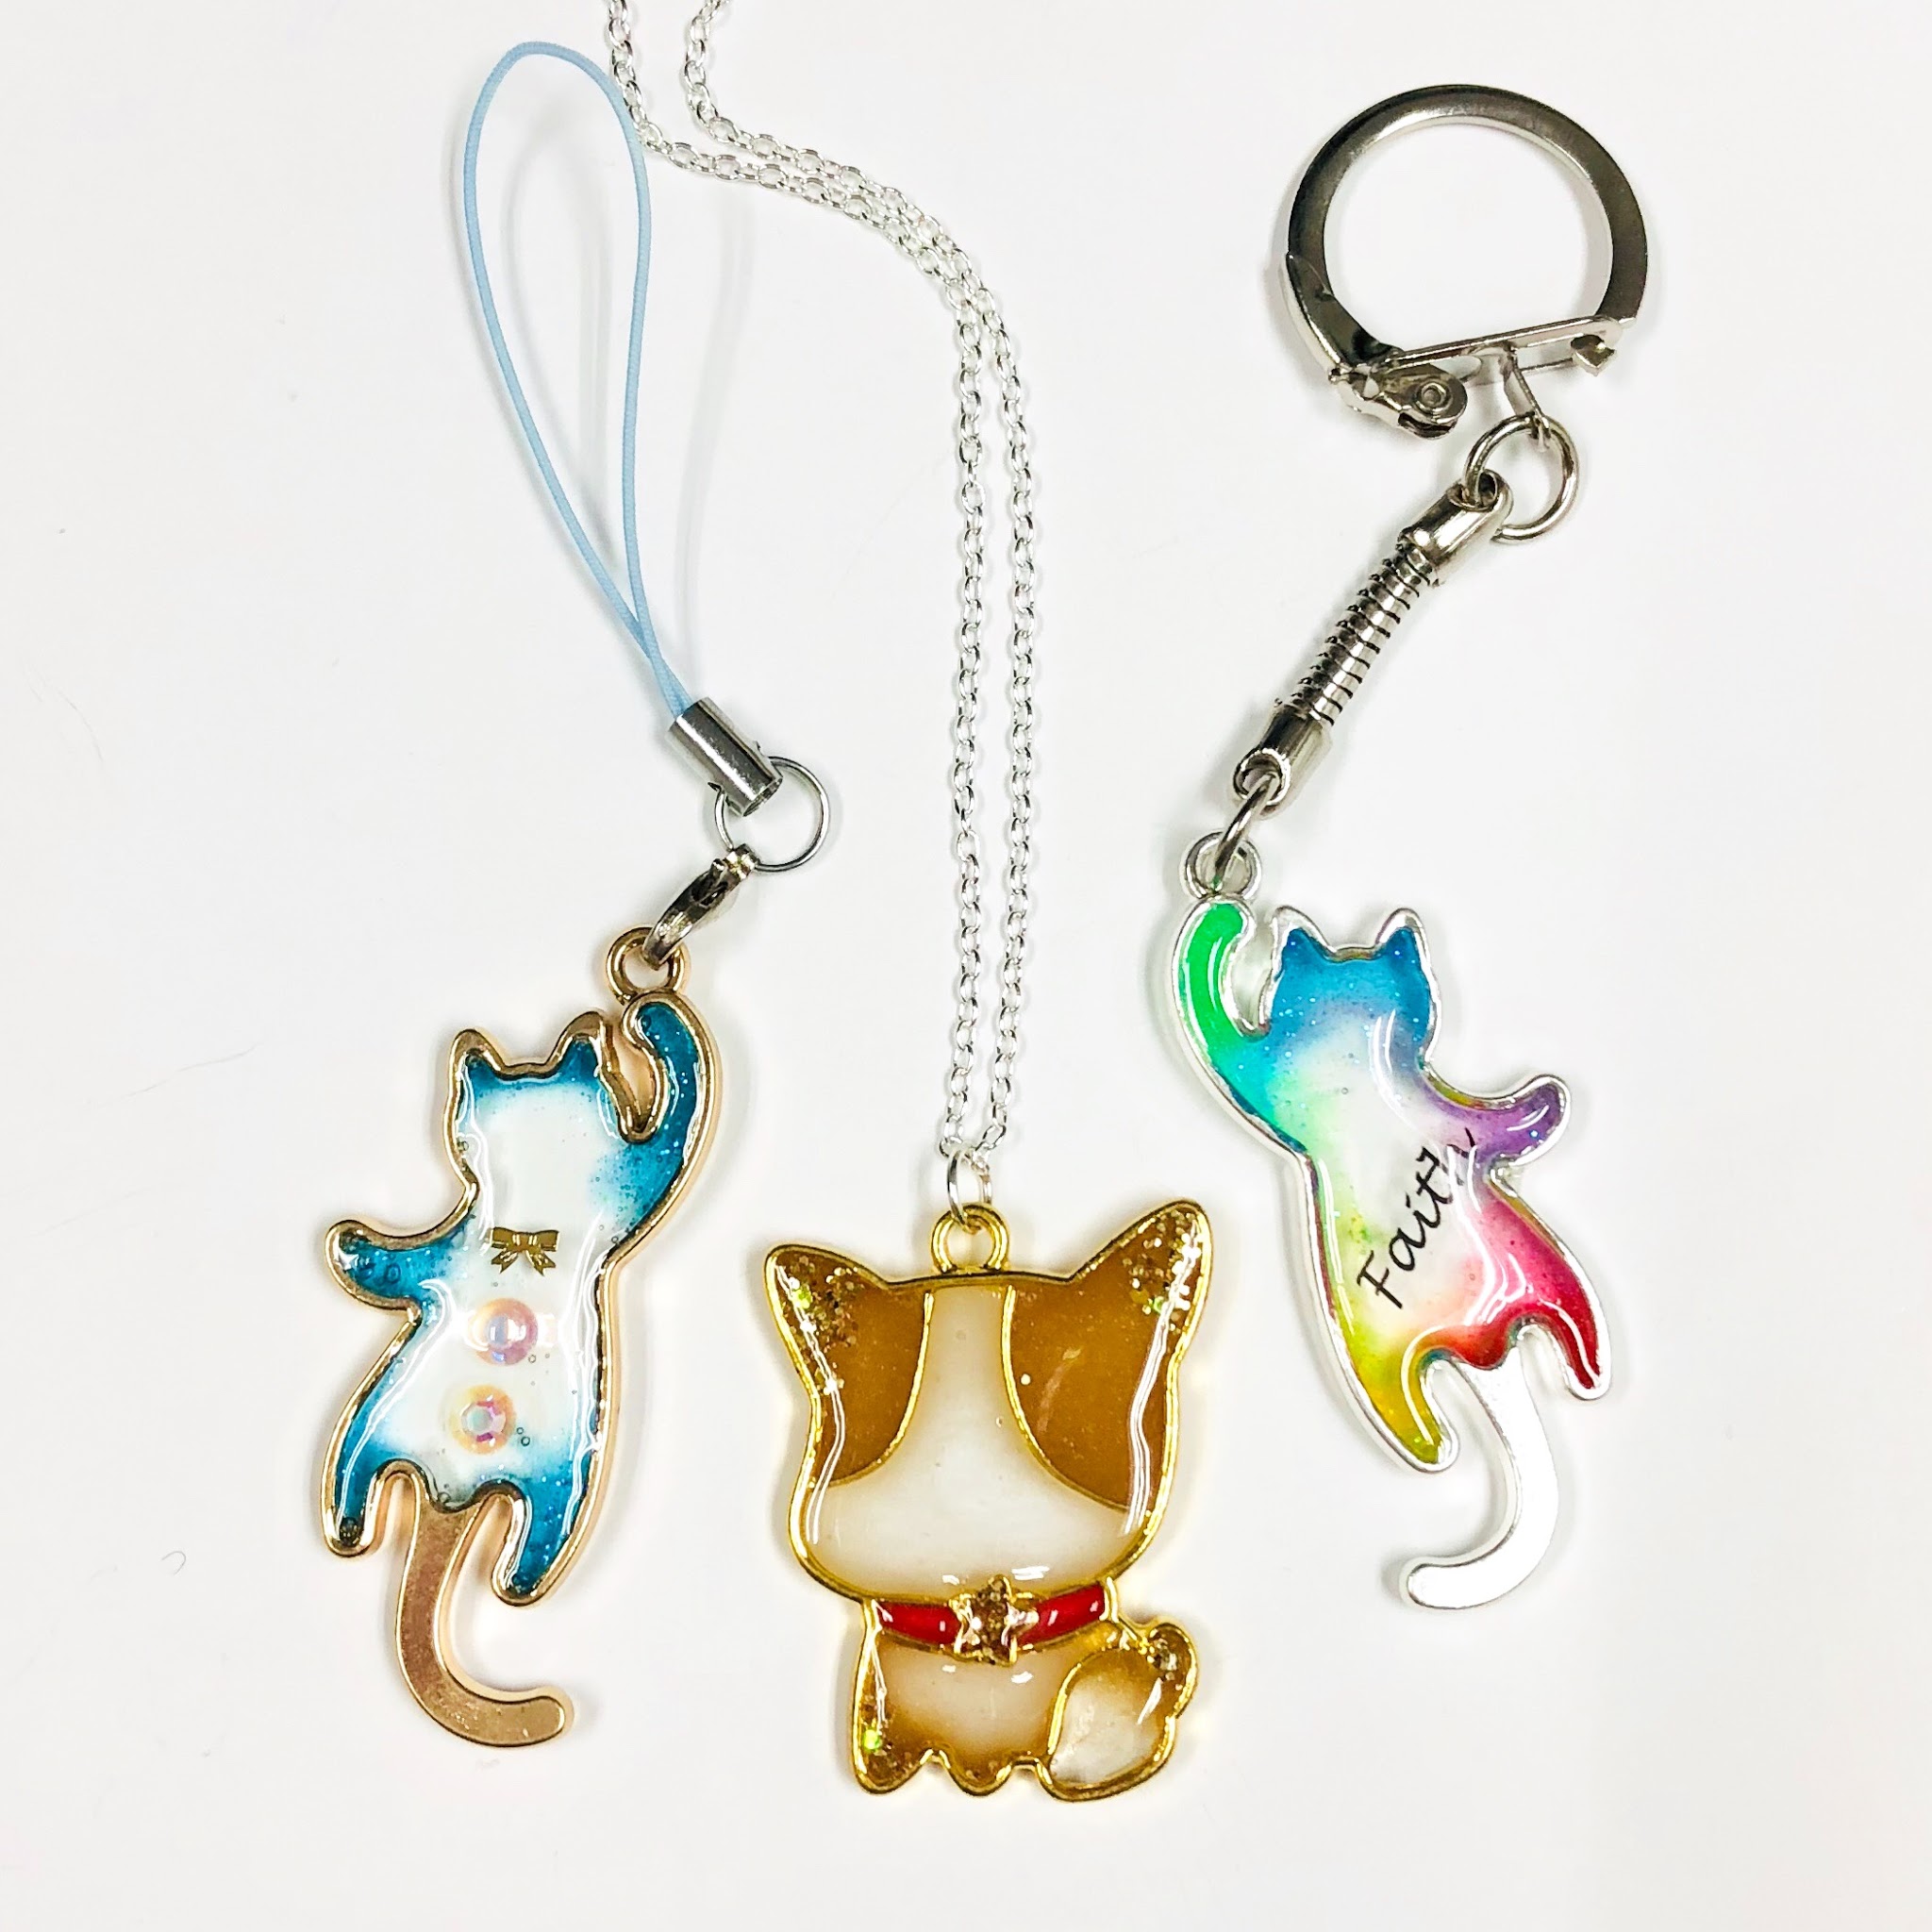
We were working with our pieces from 2pm to around 6pm and we have made a ton of accessories! From necklaces to earrings and keychains. It was super satisfying when you can bring home so many pretty things! I made all of them into necklaces.


As all these pieces were made using UV resin, they will require the UV lamp to dry within a few minutes. Whereas for the Epoxy resin, it’ll take a longer time to dry, between 12-24h.
After class, we got to know a little bit more about Samantha, where she shared that she quit her day job to pursue her passion in making crafts. She loves making resin to destress. Seeing all these lovely pieces being created makes her feel happy! She’s also an avid fan of Japan and she flies there pretty frequently for inspirations.
Fun Facts!
In case you didn’t know, after completing a resin piece, you have to spend several hours sanding the edges to smoothen it. Having more edges makes it even more difficult to sand.
Colour-mixing is also a technique that is not as easy as mixing and drying it under the lamp. JZ was trying to duplicate Samantha’s beautiful Aurora Unicorn by mixing a few layers of colours. However she made it a little too dark and caused the drying to be difficult. Samantha shared her knowledge of colour mixing. The darker the colours, the harder it is to dry, or perhaps it’ll never be able to dry. JZ took almost an hour or more trying to create it and wasn’t ready to ditch it. Thank goodness it managed to dry after a very long time!
Now then we know good and high quality results requires lots of trial and error, and understanding of the material.

All in all, it was always a satisfying experience to meet with like-minded crafters to chat about running a craft business!
Resin Workshop Details with Odoroki Studio
More details about Samantha’s Resin Workshop can be found via her FB and IG
To sign up for her workshops, you may do so via here. She has 4 types of workshops:
1. Real Flowers Jewellery with UV Resin
2. Epoxy Resin Jewellery & Accessories Workshop (2 days course)
3. Introduction to UV Resin
4. Make your own Magical Unicorn Jewellery using UV Resin
Popup Store
Samantha runs her popup store at different locations around Singapore from time to time. So if you’re interested to see her products physically, do follow her on IG to find out more about her popup store!
Note: This is not a sponsored post! What’s written here is my personal opinion. If you would like to be featured or collaborate with us, please drop us an email =)
Mata ne~


